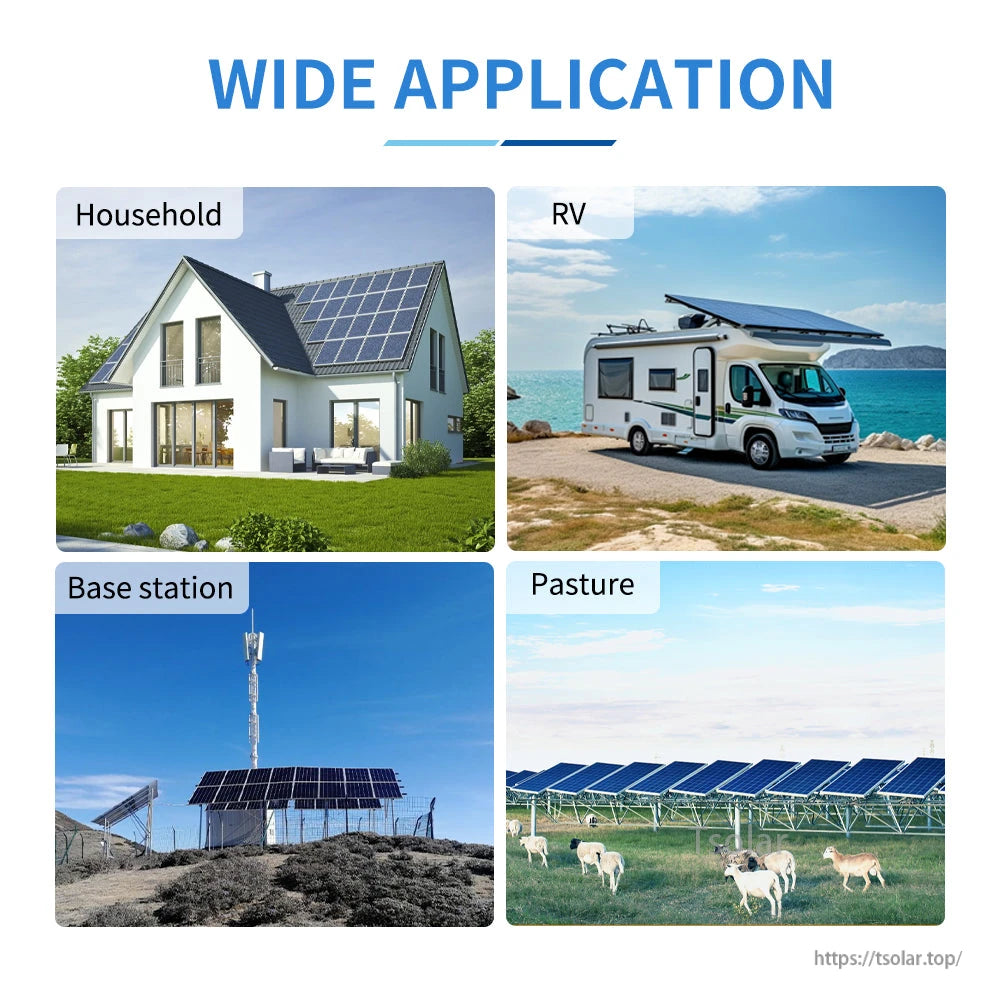
Overview
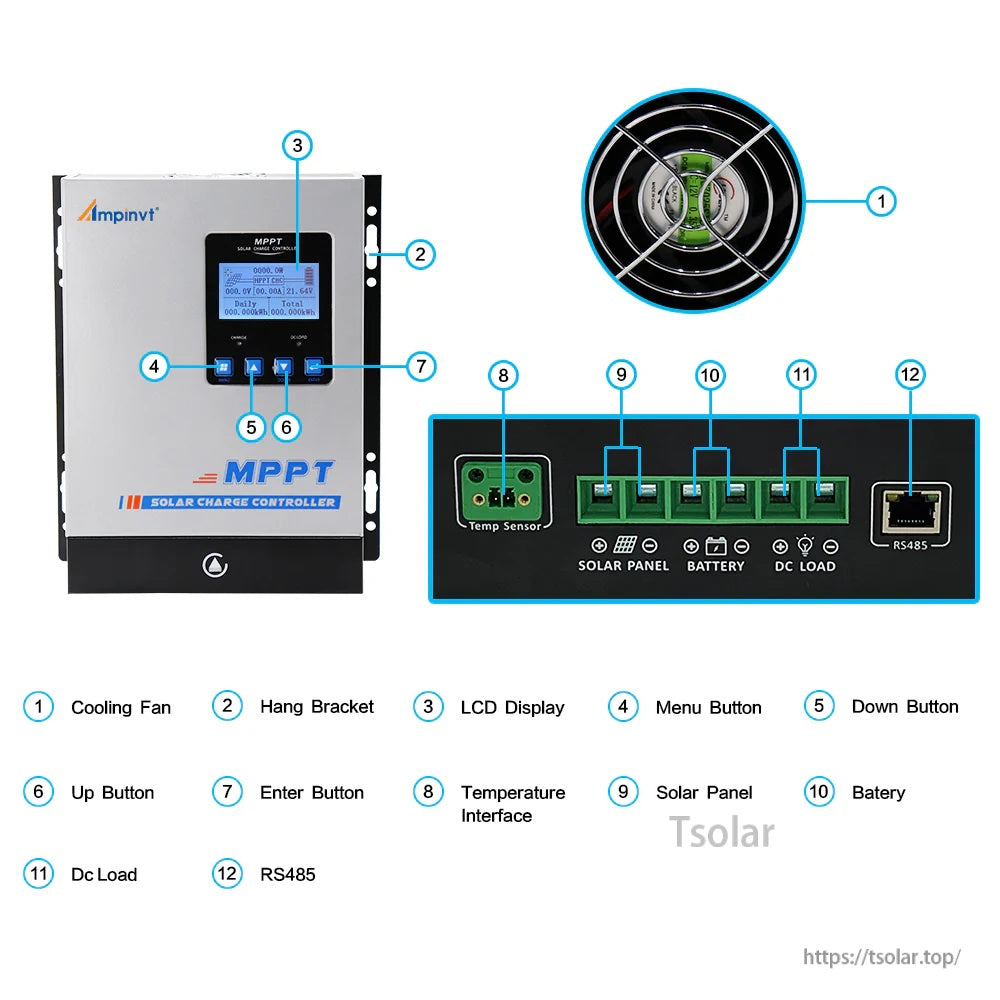
The Ampinvt 40A MPPT solar charge controller is designed to regulate solar panel charging for DC battery systems with automatic system-voltage recognition. It includes an LCD display and front-panel keys for viewing status and settings, plus terminal connections for PV (solar), battery, and DC load.
Key Features
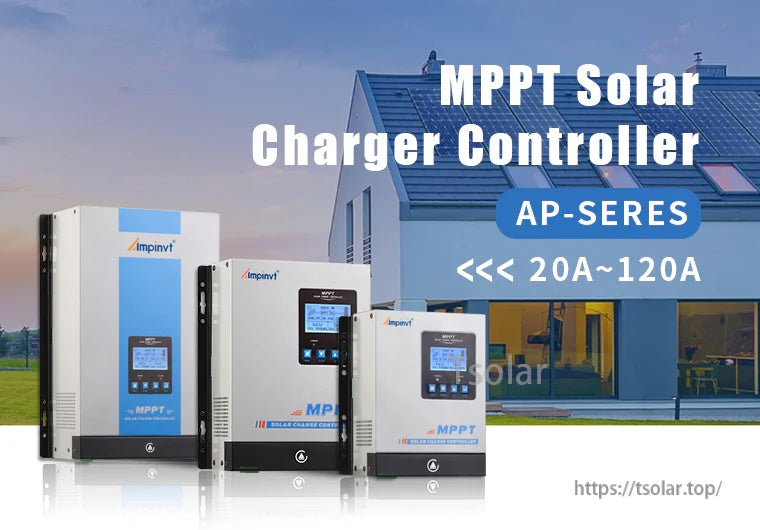
- MPPT solar charge controller (AP-SERES series marking shown)
- Rated charge current: 40A
- Automatic DC system voltage recognition (listing title: DC 12V / 24V / 36V / 48V AUTO)
- PV input option: 150V PV MAX
- LCD display with front buttons: Menu, Down, Up, Enter
- Integrated cooling fan
- Interfaces/terminals labeled for: Solar Panel, Battery, DC Load
- Temperature sensor interface (Temp Sensor)
- RS485 communication port (labeled RS485)
- Menu items shown for parameter setting: Language Set, Time/Date Set, Contrast Set, Brightness Set, Sound Set, Record Query, Delete Record, SYS.INFO.Query, DC Output Set, COMM. Set, Parameter Set
Specifications
| Brand | Ampinvt |
| Type | MPPT Solar Charge Controller |
| Rated Charge Current | 40A |
| DC System Voltage (AUTO) | 12V / 24V / 36V / 48V (per listing title) |
| PV Input (option) | 150V PV MAX |
| Communication Port | RS485 |
| Connections/Terminals | Solar Panel, Battery, DC Load, Temp Sensor |
| Product Size | 290mm x 250mm x 160mm |
Selectable Options
- DC Input: 12V/24V/48V AUTO
- PV Input: 150V PV MAX
- Product Model/Condition: Brand-New; Used-Good
What’s Included
- 1 x 40A MPPT Solar Charge Controller
- 1 x Temperature senor (spelling as shown)
- 1 x User Manual
Installation & Safety Notes
- ALWAYS connect battery first. Ensure enough battery voltage so the controller can recognize the correct system voltage. NEVER connect the solar panel array to the controller without a battery. The disassembly sequence is the reverse of the wiring order.
- DO NOT connect any inverter / wind / alternator or charger into the charge controller. Connect the inverter directly to the battery.
- Ensure solar input voltage is 3V or more higher than the battery voltage, and keep total input power within the supported range. If input power is too low, charging current may be close to zero when the controller is in float charge.
- Charging indicator and charging current may switch on/off in low light (cloudy weather or evening); this is normal.
- If the controller buzzes, the fan is operating for heat dissipation.
- DO NOT install the controller in direct sunlight to avoid power loss due to overheating. Keep space for heat dissipation (approx. 20cm) and remove clutter around the unit to reduce interference.
- Ensure all connections are tight. DO NOT allow the positive (+) and negative (-) battery terminals to touch.
For pre-purchase selection help (Brand-New vs Used-Good) or wiring guidance, contact customer support at https://tsolar.top/ or service@tsolar.top.
Details
The Ampinvt AP-series MPPT solar charge controller features an LCD screen and front keypad for basic status viewing and setup.
The Ampinvt 40A MPPT solar charge controller features an LCD screen with front buttons, plus clearly labeled terminals for solar panel, battery, and DC load wiring.
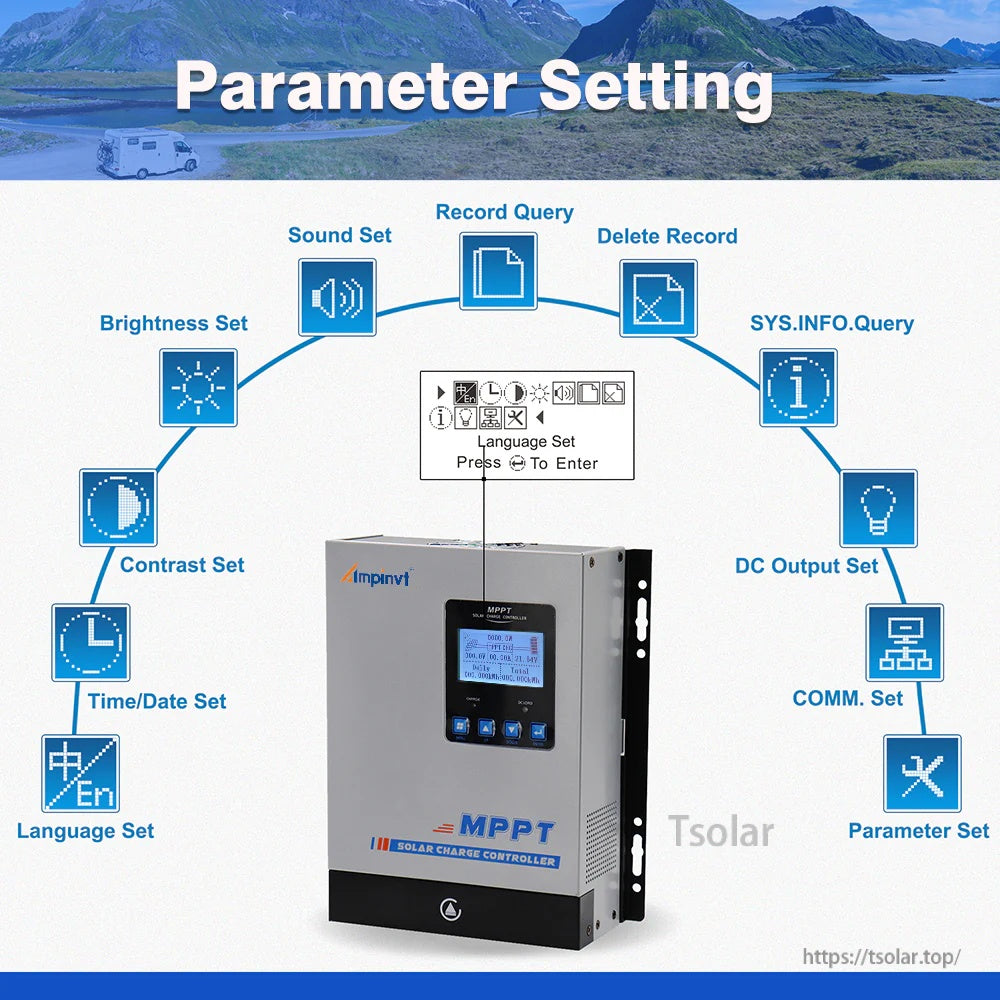
The front LCD menu on the Ampinvt 40A MPPT solar charge controller provides language, time/date, brightness, contrast, sound, communication, and DC output settings.
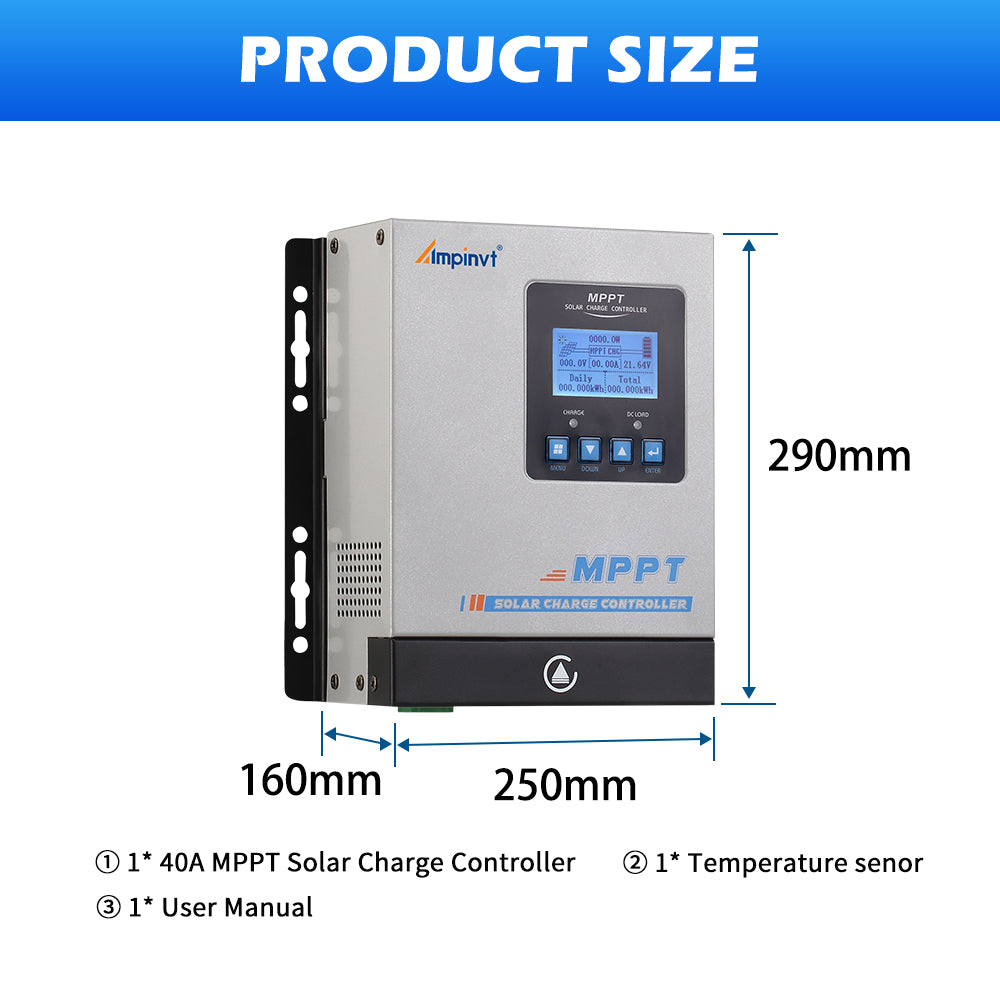
The Ampinvt 40A MPPT solar charge controller measures 290 x 250 x 160 mm and includes a temperature sensor and user manual.