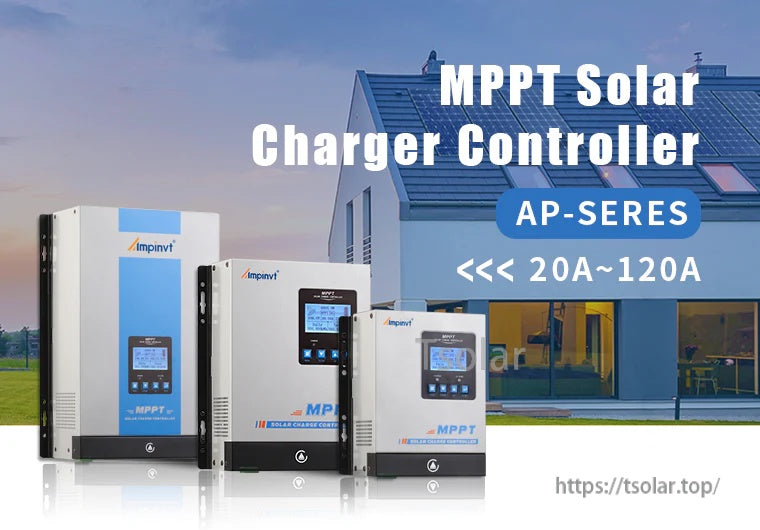
Overview
The AMPINVT 60A MPPT solar charge controller is designed for DC 12V/24V/36V/48V battery systems and supports PV input up to 150V max. It uses an MPPT algorithm to track the maximum power point in real time, and features a multifunction LCD with Chinese/English menus for monitoring power generation, charging status, and fault records.
Key Features
- MPPT tracking: Charging efficiency over 98.5% and tracking accuracy over 99.73%.
- Real-time LCD monitoring: Displays real-time power generation and current.
- Bilingual interface: Chinese and English LCD screen and operation menu.
- Fault record display: Helps with troubleshooting.
- Battery temperature sensor (BTS): Automatic temperature compensation.
- Protections: Overcharge, over-discharge, overheat, reverse, overload, and short-circuit protection.
Specifications
| Controller type | MPPT solar charge controller |
| Rated charge current | 60A |
| System voltage | DC 12V / 24V / 36V / 48V |
| Max PV input voltage | 150V max |
| Charging efficiency | Over 98.5% |
| Tracking accuracy | Over 99.73% |
| Display | LCD (Chinese/English menu) |
| Product size | 365mm x 290mm x 160mm |
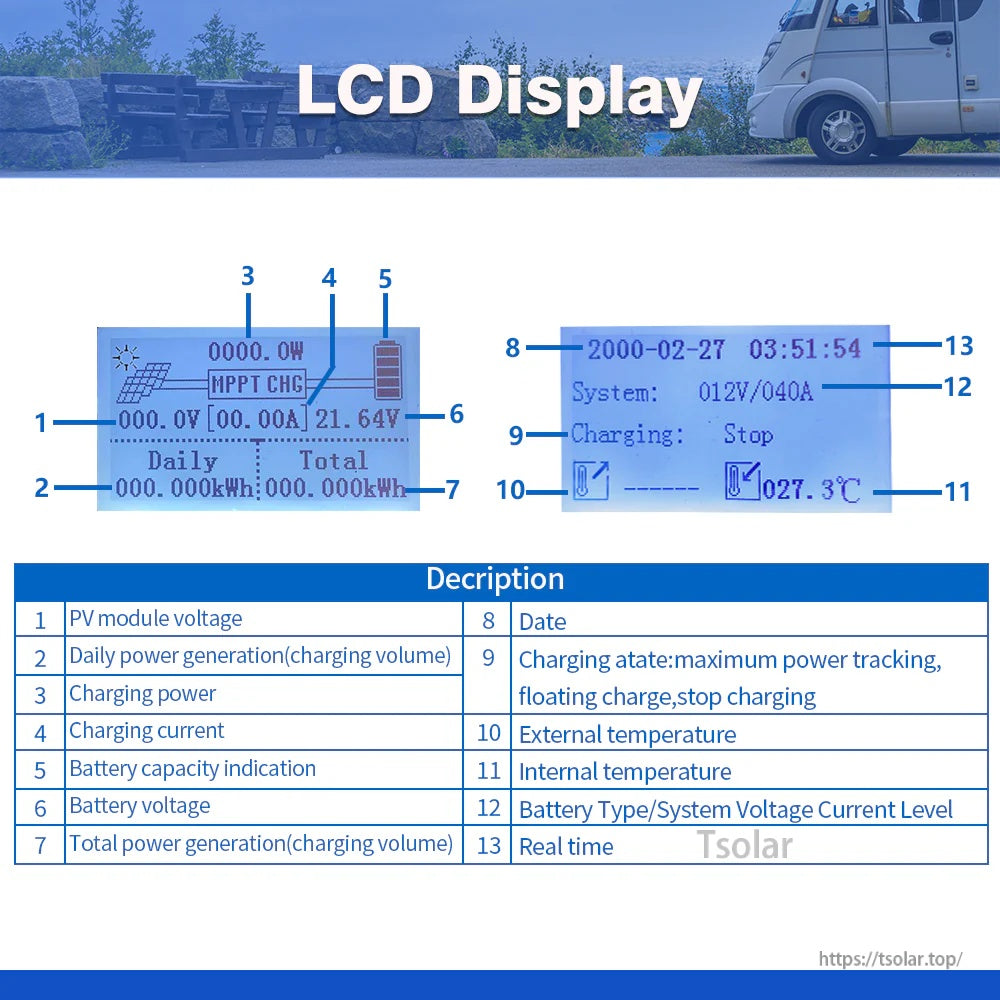
LCD Display Items
- PV module voltage
- Daily power generation (charging volume)
- Charging power
- Charging current
- Battery capacity indication
- Battery voltage
- Total power generation (charging volume)
- Date
- Charging state: maximum power tracking, floating charge, stop charging
- External temperature
- Internal temperature
- Battery Type / System Voltage Current Level
- Real time
What’s Included
- 1 x 60A MPPT Solar Charge Controller
- 1 x Temperature sensor
- 1 x User Manual
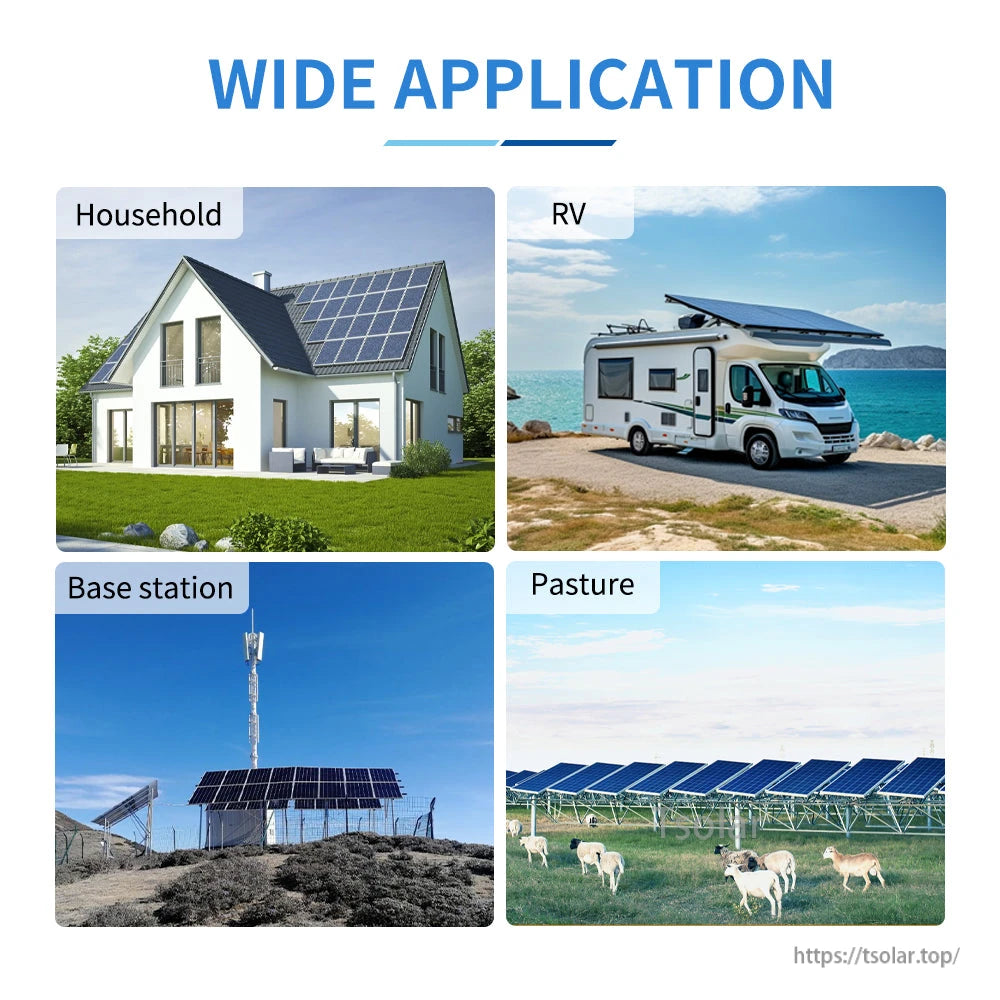
Applications
- PV charging for 12V/24V/36V/48V battery systems
Installation & Use Notes
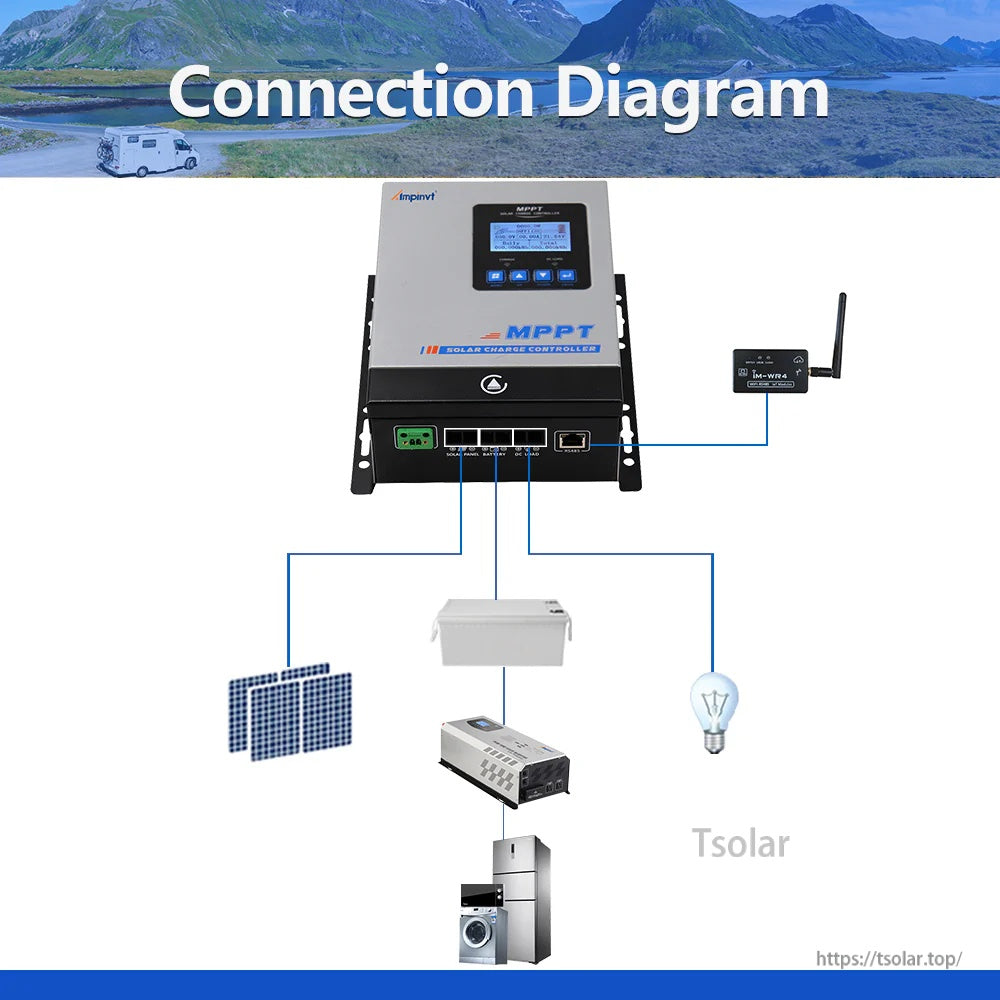
- ALWAYS connect the battery first. Ensure sufficient battery voltage so the controller can recognize the correct system voltage. NEVER connect the solar panel array to the controller without a battery. The disassembly sequence is the reverse of the wiring order.
- DO NOT connect any inverter / wind / alternator / charger into the charge controller. Connect the inverter directly to the battery.
- Ensure solar input voltage is 3V or more higher than the battery voltage and keep total input power within the allowed range. If input power is too low, charging current may be almost zero during floating charge.
- Charging indicator and charging current may switch on/off in cloudy weather or low light; this is normal.
- If the controller buzzes, the fan is dissipating heat; wait for normal operation.
- DO NOT install the controller in direct sunlight to avoid power loss due to overheating. Leave approx. 20cm space for heat dissipation and remove clutter around the controller to reduce interference.
- Ensure all connections are tight. DO NOT let the battery positive (+) and negative (-) terminals touch each other.
For setup questions and after-sales support, contact service@tsolar.top or visit https://tsolar.top/.
Details